
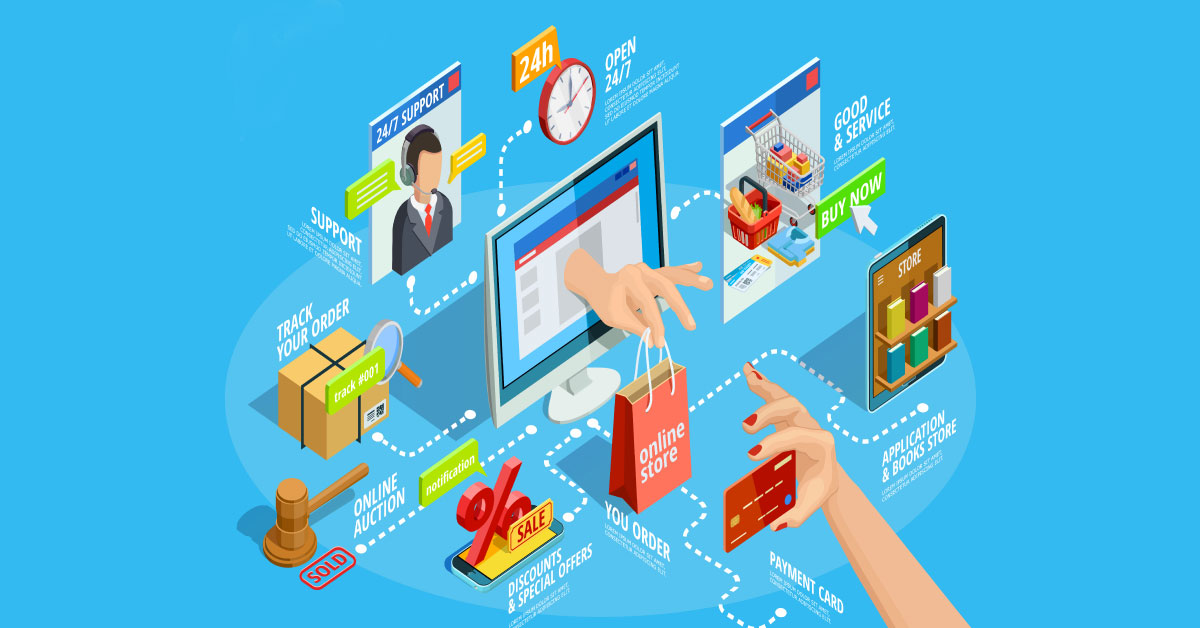
Almost 30% of websites live today are powered by WordPress, and It’s a compelling and scalable platform and works best of all; also it’s free. If you’re wondering how to start an online store but are not a professional, after helping hundreds of users start their online store, we have decided to create the most comprehensive tutorial on setting up your online store with WordPress woo-commerce (step by step). A store where you can sell both physical and digital products/services.
STEP 1. First, Get a Domain Name and Web Hosting
To create an online store or any other type of website, you’re going to need a domain name and hosting
- Domain name
A name that you enter into your browser’s address bar to reach a website is the domain name. It is your store’s unique address on the web—something like YOURSTORE.com.
- Web Hosting
Web hosting is a service that will host your website on the Internet. With a resolute hosting provider, you’ll be assured to load the website quickly and not experience extended periods downtime. Basically, it is a remote computer that stores your website and then serves it to the searchers, looking for your services.
You have the choice of shared or dedicated hosting. Your website is on the same server as several other websites with a shared host, which is cheaper. Still, it often gives you less control over your website and possibly less storage and bandwidth availability. Meanwhile, a dedicated host is more costly, but gives your website a complete server particularly for you, and gives you a wide range of control, storage, and bandwidth.
Step 2. Install WordPress
After snagging your domain and host, you can now install WordPress through your hosting dashboard. It might sound not easy, but it’s actually not. Bluehost will send you a link in the confirmation email, go to your Bluehost user pane scroll down until you see an icon labelled “Install WordPress.”
Click the button and follow the directions given to you thereafter. The entire process is quite simplistic and described in full steps.
Step 3. Install Woocommerce Plugin
Woocommerce is a highly customizable platform that gives you total control over your online store. WooCommerce transforms your WordPress site into an online selling powerhouse – and the base package is free. Even without paid plugins, you can implement the best e-commerce design elements on all of your most important pages.
To set up woo-commerce, follow these steps.
- Log in to your WordPress dashboard.
- Click on the sidebar, go to the Plugins section and click “Add New”.
- Type “WooCommerce” In the search bar, and press Enter.
- Click “Install Now” on WooCommerce by WooThemes.
At the same time, while activating the plugin, you are indicated with a Setup Wizard. We greatly advise you to follow these steps.
Step 4: Set up the product pages and add products.
Now that the plugin is set up, it’s time to start adding product pages and their products. Every plugin does something unique, so we’ll incorporate the steps for doing this in WooCommerce.
To start working with the products, go to your dashboard, then add Product and what you’re going to see is a standard WordPress content editing screen
Every product you add must have the following features:
1. Product name.
2. The main product description – This large field allows you to enter long info about the product. You can also put images, columns, headings, videos, and other media.
3. The central product data section
This area is for the type of product you’re adding, also if it’s a physical, downloadable or a virtual product. You also get tabs for different parameters of the product:
- General – It’s where you get to set the pricing and taxes.
- Inventory – WooCommerce allows you to manage stock levels.
- Shipping – Set the weight, dimensions, and the cost of shipping.
- Linked Products – Great for setting upsells, cross-sales, etc. (Think, “Customers who bought this also bought that.”)
- Attributes – Set custom product attributes. E.g., if you’re selling shirts, you can set alternative colours here.
- Advanced – Additional settings. Not essential.
4. Short Description – This is the text that gets displayed on the product page under the name. Works best as a summary of what the product is.
5. Product Categories – Group similar products together.
6. Product Tags – An additional way to help you organize your database of products. It works just like the standard WordPress tags.
7. Product Image – The main product image.
8. Product Gallery – Additional product images to showcase their awesomeness.
Step 5. Choose a theme for your eCommerce store
Selecting a unique theme according to your taste and the design that symbolizes your company’s morale and principle is necessary to create a unique identity. WordPress gives customized variances in design and colour combinations for your website for startups who don’t have that much money to spend on a personalized design.
You can also select a theme built with WooCommerce plugin in mind to work seamlessly. You don’t need to worry as WooCommerce plugins are generally compatible with all the themes, but you can still easily adjust your website’s look according to this plugin.
Step 6. Install additional plugins
Consider installing some of the plugins that will pumped-up your e-commerce store:
- Contact Form 7
- Yoast SEO
- Akismet Anti-Spam
- TinyMCE Advanced
- WordFence Security
- Google XML Sitemaps
- WP Super Cache
- Smush Image Compression and Optimization
- UpdraftPlus
- Social Share Buttons by GetSocial
- MonsterInsights
- iThemes Security
- W3 Total Cache.