
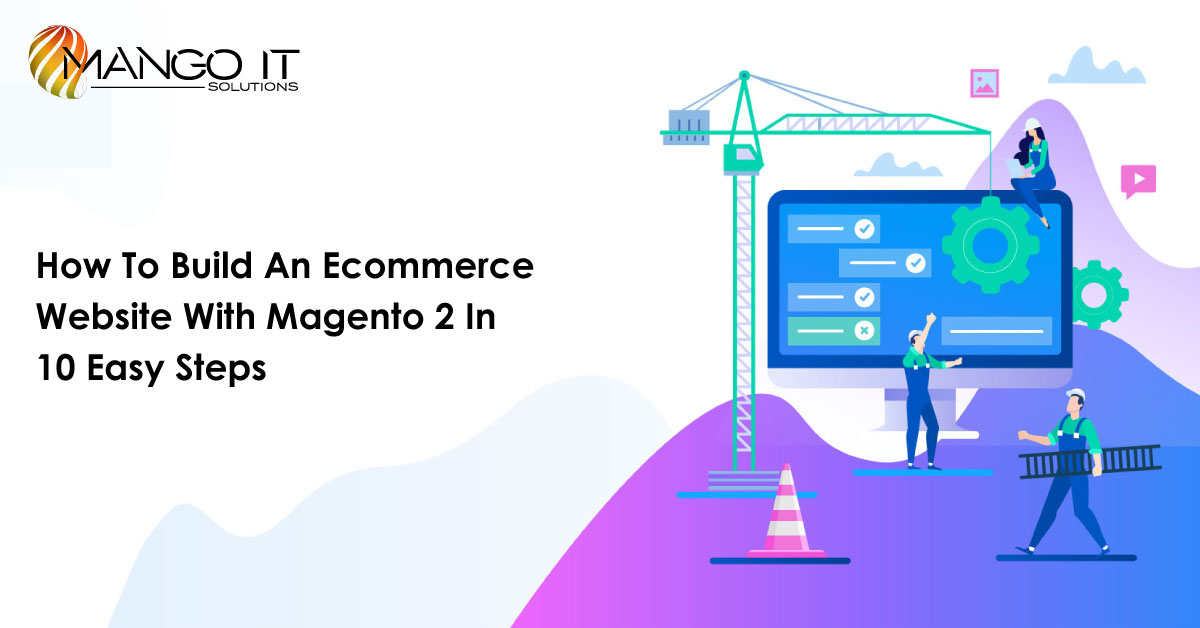
How to Build an Ecommerce Website With Magento 2 In 10 Easy Steps
1. Choose a Domain Name for Magento 2 eCommerce store
Many providers offer domain name registration as part of your hosting package. If the plan you’ve chosen doesn’t, you’ll need to look elsewhere to accomplish this step.
2. Choose a Magento 2 hosting provider
The choice of the best Magento hosting is the first thing you should do before proceeding with the platform installation and configuration. The reason is that further steps will depend on the hosting plan and the provider you choose. Today, some providers specialize in Magento hosting that come with a one-click install of the platform.
3. Configure Your Administration Settings
Before actually installing Magento, you’ll want to customize your admin username and password. You’ll be prompted to do so before executing the installation process.
Next, you’ll need to specify where your Magento installation will live on your server and what you want the URL path to your admin login page to be. Once you’ve finished customizing these settings, click on Install. When the process is complete you’ll receive a confirmation message:
Now you can click on the Administrative URL and log in with the username and password you created during the installation process. This will take you to your new Magento dashboard where you can begin building your new eCommerce website.
4. Choosing Your Magento Theme
If you’re reading this article, you’ve already decided that Magento is a perfect option for you. Now, it’s time to choose a present-day Magento 2 theme to jumpstart store creation with a ready-made professional design.
Modern Magento themes bring you way more than ready-made UIs. Top Magento templates by established providers serve stunning user experiences with multiple niche related extensions and UX-boosters. Choosing a perfect business Magento theme, opt for the one that sports the following features:
- 100% responsiveness
- Cross-browser compatibility;
- Different pre-made layouts for Home Page, Gallery and store pages;
- Enhanced navigation (e.g. MegaMenu, Layered Navigation, etc.)
- Modern slider, Parallax;
- RTL support (if you need it);
- Blog functionality.
5. Customize Your Theme
Once your new theme is installed, you can access it by going to Content > Configuration. Then you can begin modifying its settings by selecting the website setup you want to customize. This is where you’ll find the interface for changing or uploading a logo and other elements for your online store:
Additionally, you can use the Content > Elements menu to edit your website’s pages and widgets, as well as the blocks that make up the structure of the site.
For example, if you select Pages you’ll see a list of your current content that’s available for editing, as well as the layout and theme each page to uses:
There are several nice features included in the Magento content editing interface. In particular, it includes a Search Engine Optimization (SEO) panel for each individual page, which can help you improve your site’s visibility.
6. Configure Your store
To configure your store’s appearance, go to the Content section. In the sub-menu you’ll see such items as Pages, Blocks, Widgets, Posts and Comments. These items allow you to edit and add pages, blocks, widgets, etc. correspondingly. Use them to adjust the appearance and add new content to your store.
Under Content menu tab, you’ll also see the Configure item. This is where you can adjust a number of store options, including header, footer and pagination display, product watermarks and other options.
7. Customize the store functionality with Magento 2 extensions
After you’ve tested the out-of-the-box features of the Magento store,you will most likely start looking for extra analytics, SEO, or accounting tools to integrate your store with. This is exactly what 80% of Magento merchants do, and this is where custom Magento extensions come to the rescue.
First, you should compile the list of features you want to enhance your store with. After that, you should look for the best Magento 2 extensions available at Magento Marketplace. There, you will find Magento 2 extensions to every taste and need, free and paid, and for almost any need that may arise in your imagination. If you want to improve your order management, customize the checkout, add more payment gateways, launch a blog, connect your store to the social networks, automatically optimize images, or more of that, look for the corresponding custom features there.
8. Set Up Your Product Pages With Prices and Images
Setting up products for your Magento store takes just a few steps. If you go to Catalog > Products you’ll see a list of your existing merchandise and the Add Product button:
Which product type you select will determine the template you’ll use to create the corresponding page. You’ll always have to include a name, price, and Stockkeeping Unit (SKU) number. Optional information includes weight and dimensions, stock quantity, and a description.
Next, you can choose to upload an image or video of your merchandise. This is wise, as most people want to see what an item looks like before they purchase it. Even if you’re selling virtual or downloadable products, you may want to add a photo or graphic that represents your service or digital goods.
When you’re finished, click on the Save button in the top right corner. If you’re ready for your product to go live on your site, make sure the Product Online switch is toggled on as well. However, it’s sometimes best to wait until all your items are ready for customers before publishing them.
9. Set up payment and shipping methods
When it comes to eCommerce space, payment and shipping options significantly impact the abandoned cart rate. Fortunately, Magento supports a wide range of these two elements.
The shipping methods configuration is placed under the Store > Setting > Configuration > Sales > Delivery Methods. You will finish all settings for shipping options that you want to enable on your Magento 2 store. You can also set up to allow multiple shipping addresses and define maximum product quantity for multiple shipping addresses.
Configure Shipping Methods
Under the Payment Methods bar, there are numerous available payment methods, including PayPal, Braintree (recommended), Klarna, Amazon Pay, Check/Money Order, Bank Transfer, Cash On Delivery, etc.
You will have to set up your own payment methods and configure integrated payment gateways. Furthermore, you can extend payment options with third-party payment modules or API integration.
10. Preview and Launch Your Website
Editing a live site can be confusing for visitors who find it while it’s still in progress, as well as causing other potential issues. For these reasons, it’s always best to use a staging environment or develop locally and then push your changes to your server.
If you’ve been developing your site locally, the last step is to push all of your Magento files to your webserver. You can do this through your local development application or with a File Transfer Protocol (FTP) client. This will publish your website on the internet for users to find and enjoy:
Ultimately, Magento has a little something for just about anyone looking to start an online store. While the learning curve might be steeper than other popular eCommerce platforms or plugins, Magento is a top-of-the-line choice for internet retailers.